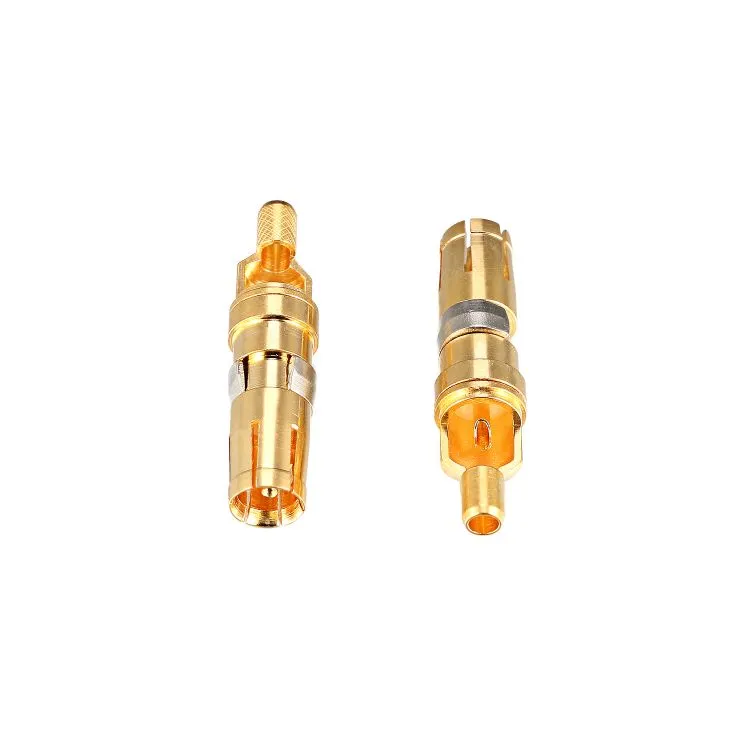
How do you crimp a connector pin?
2024-09-25
Connector pins are usually connected to wires, cables or printed circuit boards by crimping. Crimping is a common connection method that secures the pins to the wires or circuit boards by applying appropriate pressure to ensure a stable electrical connection.

The following is a general crimping process:
1. Prepare tools and equipment: First, you need to prepare some tools and equipment, including connector pins, wires or cables, and crimping tools (usually crimping pliers or crimping machines).
2. Strip insulation: If you are connecting wires or cables, you need to use an insulation stripping tool to strip the insulation layer to expose a certain length of wire.
3. Select the appropriate pin: Select the appropriate connector pin according to the type and design of the connector.
4. Insert the pin: Insert the pin into the exposed part of the wire or cable. Make sure the pin is fully inserted and in close contact with the wire.
5. Install the connector: Put the connector and the end of the pin into the crimping position of the crimping tool.
6. Apply pressure: Use the crimping tool to apply appropriate force to make the connector pin tightly connected to the wire or cable. This usually results in the metal portion of the pin being pressed tight to ensure a secure electrical connection.
7. Check the connection: After completing the crimping, the connection should be carefully checked to ensure that the pin is firmly connected to the wire or cable and has not loosened or moved. You can also use a measuring tool to check the quality of the electrical connection.
Please note that crimping requires the proper tools and skills to ensure a proper connection. If you are not familiar with this process or do not have relevant experience, it is recommended to seek the help of a professional to ensure a safe and reliable connection.


